
SwiftUI学习(3)-布局管理(下) LazyVGrid LazyHGrid基础
コニクマル撰写
本文使用目前最新版本的xcode 12 + macOS Big sur + iOS14
Grid布局
LazyVGrid和LazyHGrid一个是垂直格子布局,一个是水平格子布局, iOS14新增的布局管理器,和LazyVStack和LazyHStack一样都带有Lazy,表明这2个布局管理器也是只会渲染需要显示的子元素。
LazyVGrid
LazyVGrid是通过指定列的数量然后来填充布局
  LazyVGrid(columns: [GridItem(.fixed(100)), GridItem(.fixed(100)), GridItem(.fixed(100))]){
      ForEach(0 ..< 30){ index in
          RoundedRectangle(cornerRadius: 5)
              .foregroundColor(Color(hue: 0.03 * Double(index) , saturation: 1, brightness: 1))
              .frame(height: 50)
              .overlay(Text("\(index)"))
      }
  }
  .padding()
上面代码通过指定3个宽度为100的列, 用ForEach来填充30个格子, ForEach以后内容在讨论,效果如下:
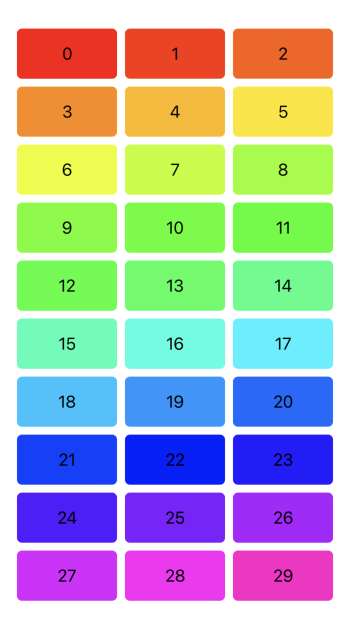
LazyVGrid填充的顺序是从上方一行一行填充的,填满一行在填满下一行, 从上图的显示的序号就就很容易看明白了。
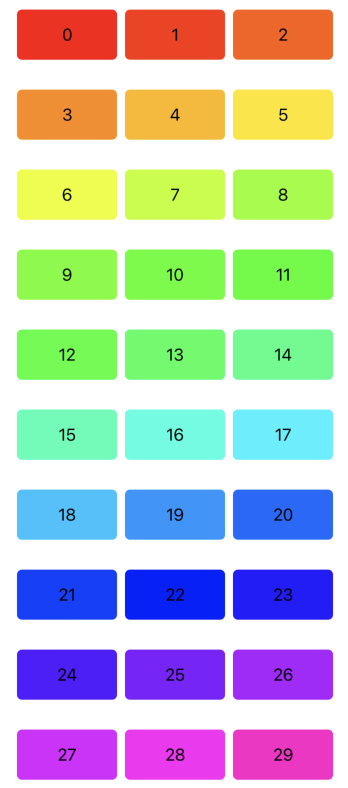
通过设置LazyVGrid的spacing可以调整行间距。
LazyVGrid(columns: [GridItem(.fixed(100)), GridItem(.fixed(100)), GridItem(.fixed(100))], spacing: 30){
  ForEach(0 ..< 30){ index in
      RoundedRectangle(cornerRadius: 5)
          .foregroundColor(Color(hue: 0.03 * Double(index) , saturation: 1, brightness: 1))
          .frame(height: 50)
          .overlay(Text("\(index)"))
  }
}
.padding()
效果如下:
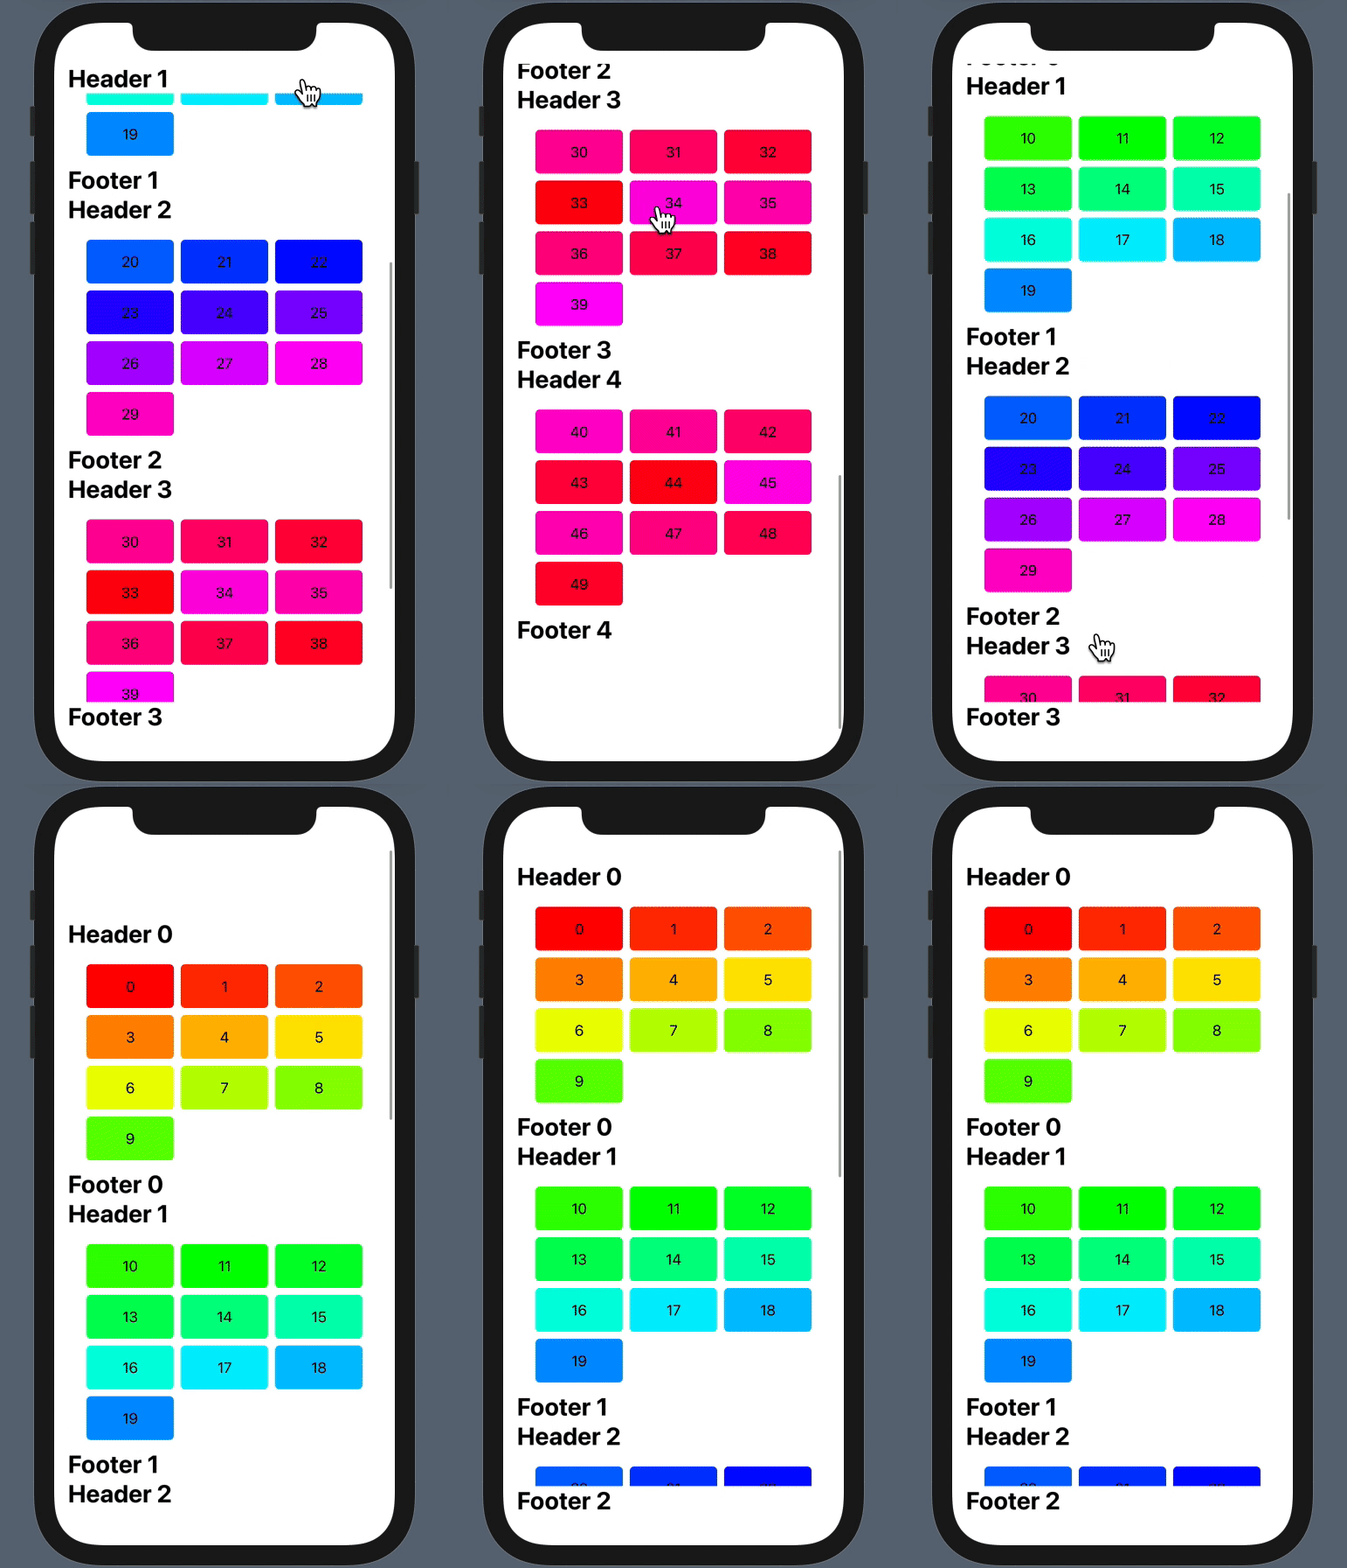
LazyVGrid通过设置PinnedViews类型, 可以让Header和Footer悬停在滚动时悬停在顶部和底部。通过Section来设置Section的header和footer
VStack {
  ScrollView {
      LazyVGrid(columns: [GridItem(.fixed(100)), GridItem(.fixed(100)), GridItem(.fixed(100))], pinnedViews: [.sectionHeaders, .sectionFooters]){
          ForEach(0 ..< 5){ index in
              Section(header: Text("Header \(index)")
                          .bold()
                          .font(.title)
                          .frame(maxWidth: .infinity, alignment: .leading)
                          .background(Color.white),
                      footer: Text("Footer \(index)")
                              .bold()
                              .font(.title)
                              .frame(maxWidth: .infinity, alignment: .leading)
                              .background(Color.white)
              ) {
                  ForEach(0 ..< 10){ idx in
                      RoundedRectangle(cornerRadius: 5)
                          .foregroundColor(Color(hue: 0.03 * Double(index * 10 + idx) , saturation: 1, brightness: 1))
                          .frame(height: 50)
                          .overlay(Text("\(index * 10 + idx)"))
                  }
              }
          }
      }
      .padding()
  }
}
.clipped()
点击预览模拟器上方的播放按钮进入动态预览可以对scrollview进行滚动, 效果和UITableView的header和footer悬停基本一致, 运行如下
GridItem通过设置Size来控制格子的宽度:
fixed通过指定固定大小来确定格子宽度flexible弹性大小,会和其他flexible的格子分割剩余的空间,可以设置期望的最大和最小值。如果指定的最小值过大可能会超出屏幕adaptive自适应分布, 这个尺寸会提供一个或者多个格子。需要指定一个最小值, 也可以设置最大值,然后根据最小值在把自身占用的区域平分成若干个满足最小值最大值的的格子。可以理解adaptive为一个flexible大格子,获得空间后再把这个大格子平分成若干个满足设置定值的小格子。
通过下面代码,显示各个格子大小, GeometryReader是一个特殊View能获取一些尺寸坐标信息,稍后讨论:
LazyVGrid(columns: [GridItem(.flexible()), GridItem(.adaptive(minimum: 50), spacing: 0)]){
    ForEach(0 ..< 30){ idx in
        GeometryReader{r in
            RoundedRectangle(cornerRadius: 5)
                .foregroundColor(Color(hue: 0.01 * Double(idx) , saturation: 1, brightness: 1))
                .overlay(Text("\(r.size.width)"))
        }
        .frame(height: 50)

    }
}
.padding()
效果如下:
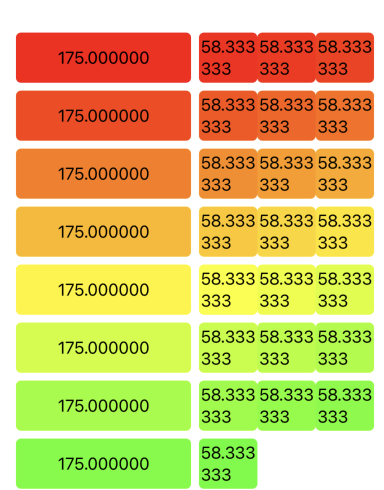
很容易看出左边flexble的格子等右边3个小格子的宽度之和。
GridItem通过设置spacing的值来控制格子之间的距离
LazyVGrid(columns: [GridItem(.flexible(), spacing: 10), GridItem(.flexible(), spacing: 100), GridItem(.flexible(), spacing: 50)]){
    ForEach(0 ..< 30){ idx in
        RoundedRectangle(cornerRadius: 5)
            .foregroundColor(Color(hue: 0.0333 * Double(idx) , saturation: 1, brightness: 1))
        .frame(height: 50)
    }
}
.padding()
运行效果如下:
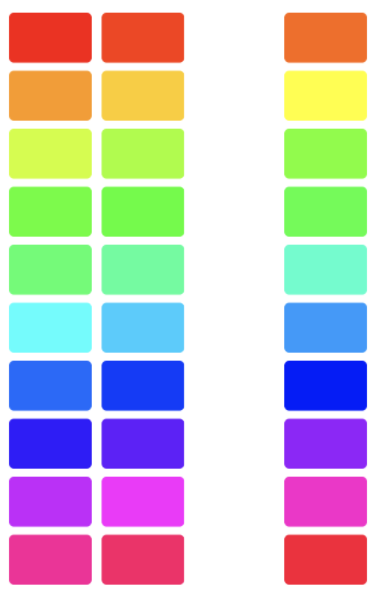
从运行效果可以看出只会在格子的右侧添加设置的空间。
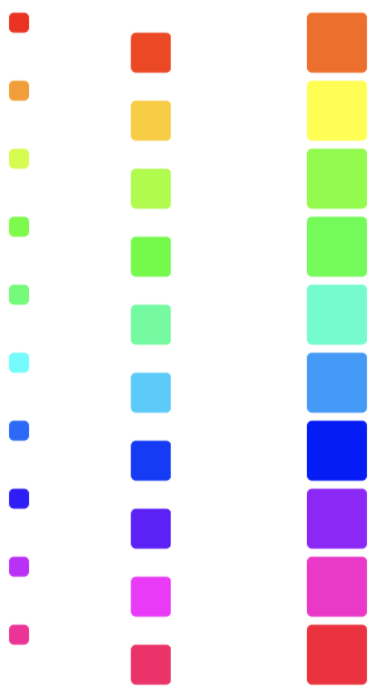
LazyVGrid每行的高度取决于最高的格子大小, GridItem的Alignment来控制格子中元素位于格子内的位置, 类似于frame的Alignment的用法。
LazyVGrid(columns: [GridItem(.flexible(), alignment: .topLeading), GridItem(.flexible(), alignment: .bottomLeading), GridItem(.flexible(),  alignment: .trailing)]){
    ForEach(0 ..< 30){ idx in
        RoundedRectangle(cornerRadius: 5)
            .foregroundColor(Color(hue: 0.0333 * Double(idx) , saturation: 1, brightness: 1))
            .frame(width: CGFloat((idx % 3) + 1) * 20, height: CGFloat((idx % 3) + 1) * 20)
    }
}
.padding()
运行效果如下:
LazyHGrid
LazyHGrid和LazyVGrid用法相似LazyHGrid指定的是行数, 从上到下填充到指定行数后再填充第二列。
奇淫巧技
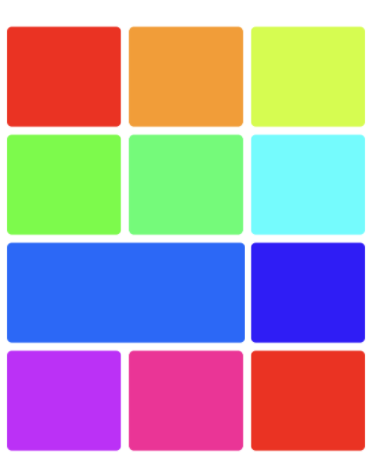
LazyHGrid和LazyVGrid都是固定格式大小, 如何实现不规则布局, 如下图
先看一段简单代码:
LazyVGrid(columns: [GridItem(.flexible()), GridItem(.flexible()), GridItem(.flexible()]){
    RoundedRectangle(cornerRadius: 5)
        .foregroundColor(Color(hue: 0.3 * Double(1) , saturation: 1, brightness: 1))
        .frame(width: 450, height: 100)
    RoundedRectangle(cornerRadius: 5)
        .foregroundColor(Color(hue: 0.3 * Double(2) , saturation: 1, brightness: 1))
        .frame(width: 200,height: 100)
    RoundedRectangle(cornerRadius: 5)
        .foregroundColor(Color(hue: 0.3 * Double(3) , saturation: 1, brightness: 1))
        .frame(width: 50,height: 100)
}
.padding()
定义一个3列的格子,放了3个矩形, 运行看下效果:

LazyVGrid并不会裁剪超出格子的View。
那么就可以定义一个2倍宽度的格子使其占满2个。再把下面一个格子用Color.clear来替代。
附上代码:
LazyVGrid(columns: [GridItem(.flexible()), GridItem(.flexible()), GridItem(.flexible())]){
      ForEach(0 ..< 11){ idx in
          GeometryReader { r in
              RoundedRectangle(cornerRadius: 5)
                  .foregroundColor(Color(hue: 0.1 * Double(idx) , saturation: 1, brightness: 1))
                  .frame(width: idx == 6 ? 2 * r.size.width  + 10 : r.size.width )
          }
          .frame(height: 100)
          if idx == 6 {
              Color.clear
          }
      }
  }
  .padding()