SwiftUI学习(2)-布局管理(上) VStack/HStack/ZStack学习
コニクマル撰写
本文使用目前最新版本的xcode 12 + macOS Big sur + iOS14
VStack 垂直布局
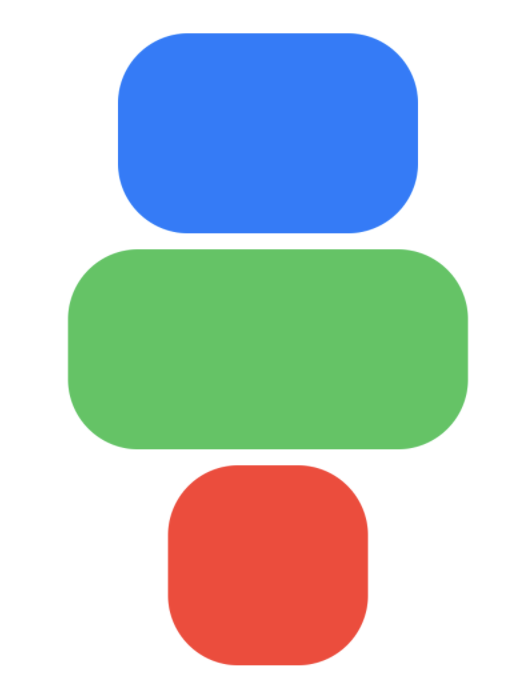
VStack是将其子元素垂直排列的布局。
VStack {
        RoundedRectangle(cornerRadius: 35)
            .foregroundColor(.blue)
            .frame(width: 150, height: 100)

        RoundedRectangle(cornerRadius: 35)
            .foregroundColor(.green)
            .frame(width: 200, height: 100)

        RoundedRectangle(cornerRadius: 35)
            .foregroundColor(.red)
            .frame(width: 100, height: 100)
    }
效果如下:
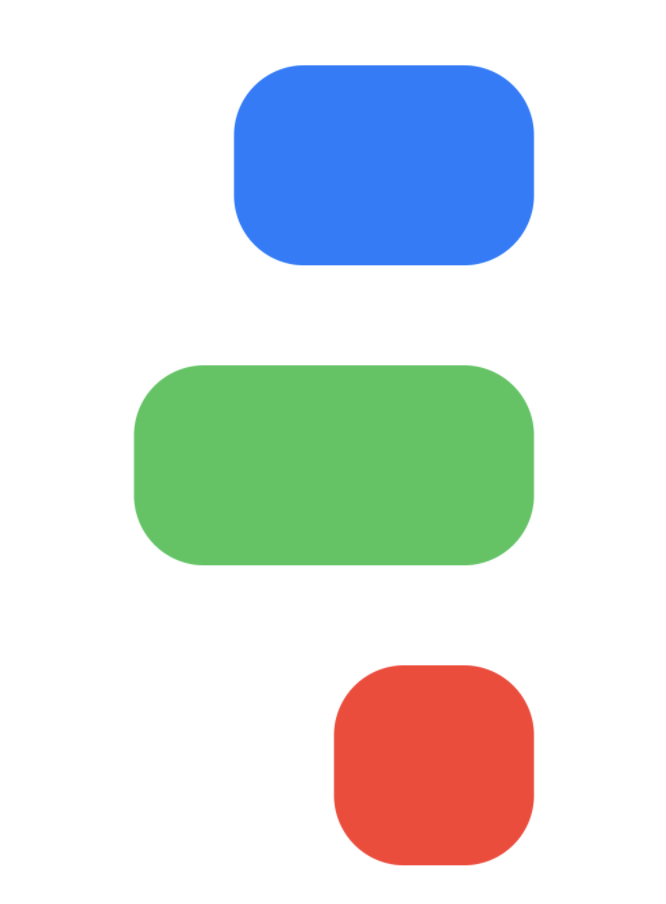
通过设置VStack的参数spacing来设置元素的间距, 通过设置alignment来设置元素的对齐方式, 这个对齐方式是只元素之间的对齐方式, 比如3个矩形左边对齐,中心对齐,右边对齐。并不是在VStack内的位置。
VStack(alignment:.trailing, spacing: 50) {
          RoundedRectangle(cornerRadius: 35)
              .foregroundColor(.blue)
              .frame(width: 150, height: 100)

          RoundedRectangle(cornerRadius: 35)
              .foregroundColor(.green)
              .frame(width: 200, height: 100)

          RoundedRectangle(cornerRadius: 35)
              .foregroundColor(.red)
              .frame(width: 100, height: 100)
      }
效果如下:
如果没有设置VStack的frame, VStack会根据元素的大小来计算自身的大小。
给上面例子中VStack设置个背景。
VStack(alignment:.trailing, spacing: 50) {
		...
}
.background(Color.orange)
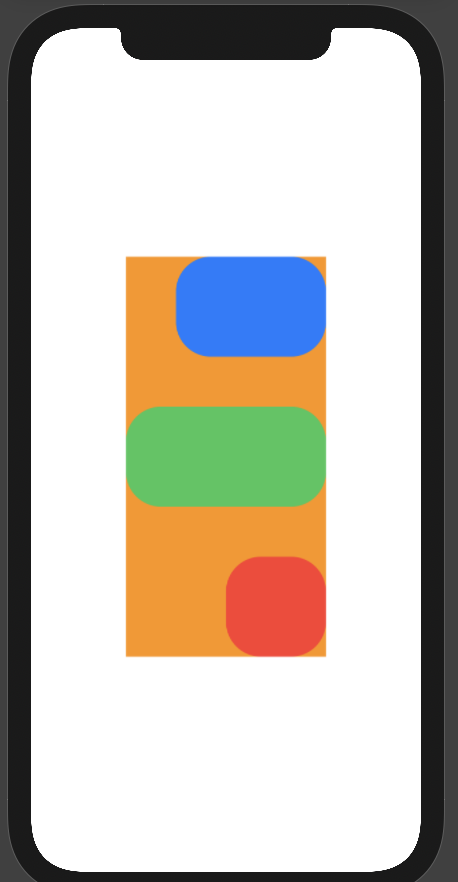
可以看到VStack宽度等于最宽的矩形宽度, 高度等于3个矩形高度+spacing的大小。
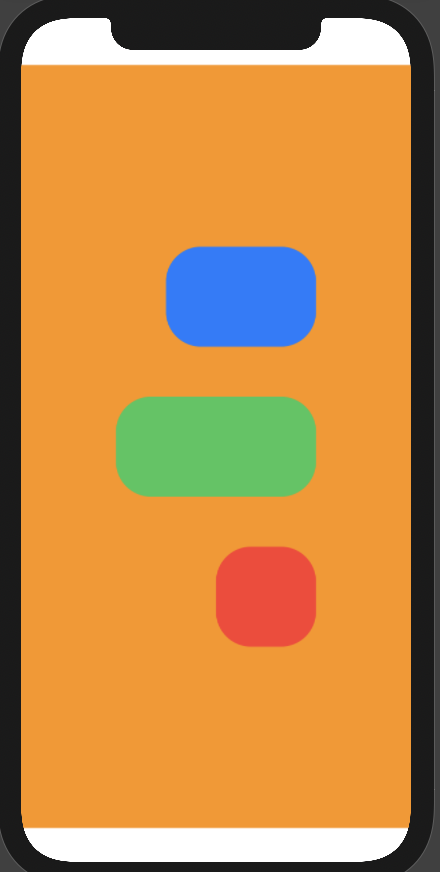
通过设置frame的maxWidth和maxHeight为infinity可以让VStack大小等于父节点的大小。
VStack(alignment:.trailing, spacing: 50) {
		...
}
.frame(maxWidth:.infinity, maxHeight: .infinity)
.background(Color.orange)
效果如下:
设置frame同时设置alignment属性来控制子元素在VStack中的位置。
VStack(alignment:.trailing, spacing: 50) {
...
}
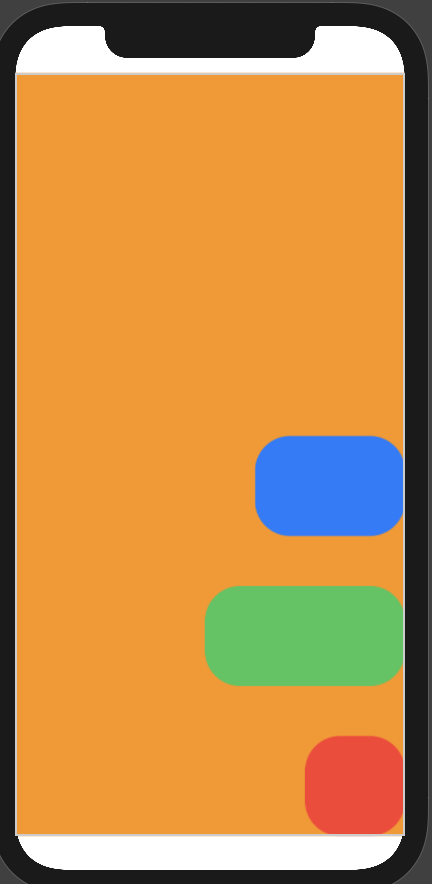
.frame(maxWidth:.infinity, maxHeight: .infinity, alignment: .bottomTrailing)
.background(Color.orange)
将3个矩形设置到右下角,效果如下:
通过设置edgesIgnoringSafeArea可以是布局延伸到safe area区域。
VStack(alignment:.trailing, spacing: 50) {
...
}
.frame(maxWidth:.infinity, maxHeight: .infinity, alignment: .bottomTrailing)
.background(Color.orange)
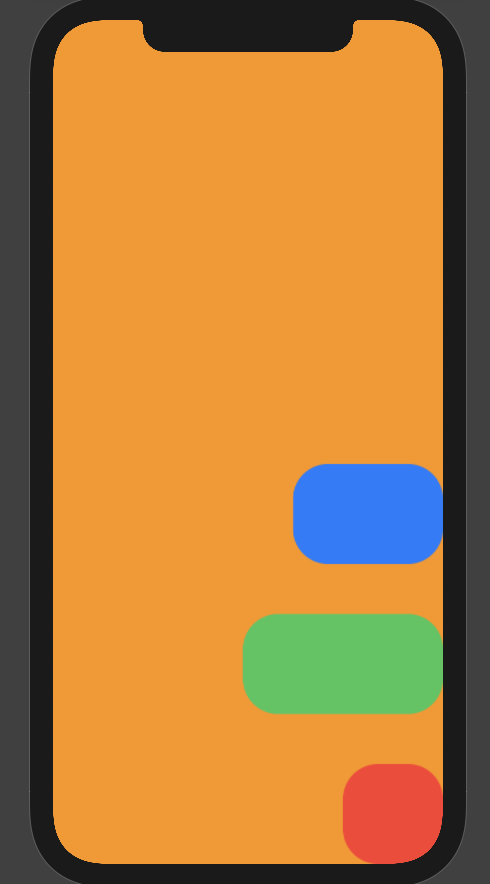
.edgesIgnoringSafeArea(.all)
这样就使得VStack填满屏幕了。
HStack和ZStack
HStack和ZStack和VStack只是方向不同,HStack是水平排列, ZStack是在Z轴上堆叠排列, 其他用法和VStack基本一致。
LazyVStack/LazyHStack
LazyVStack和LazyHStack是iOS14新引入的布局管理器, 通过名字可以看出是个Lazy类型的布局管理, 和VStack/HStack区别在于VStack/HStack会一次性渲染所有的子元素而LazyVStack和LazyHStack会在元素需要显示的时候在渲染元素。LazyVStack和LazyHStack渲染较多超出屏幕元素时候比VStack/HStack有着更好的性能,特别是配合scrollview做滚动列表的时候。